The heat pump is a popular HVAC system that doesn’t generate heat but instead moves thermal energy from the air. Installing a heat pump is one of the most energy-efficient ways to heat, cool, and provide hot water for your home. It’s a great way to save on your energy bills and reduce your carbon footprint.
Whether you’re replacing an old HVAC system or adding a new one, understanding the installation process will help ensure optimal performance and minimize potential problems. This guide will break down the necessary steps to install a heat pump system.
Before installing the heat pump, you need to determine whether the heat pump is suitable for installation in your house, the type of heat pump, and the size. This step requires a licensed HVAC technician to assess your home’s:
This ensures you choose the right size and type of heat pump—air source, ground source, or ductless mini-split.
There are three types of heat pumps:
Your installer will recommend the best option based on your home’s design and local energy efficiency standards.
Purchasing and installing a heat pump is a significant upfront cost. You may be able to get government subsidies and grants depending on where you live and your situation.
Most European countries currently offer financial support for heat pumps:
It can help promote the installation of heat pump systems in residential and commercial properties. Consult your local energy agency or national heat pump association for application guidelines and eligibility details.
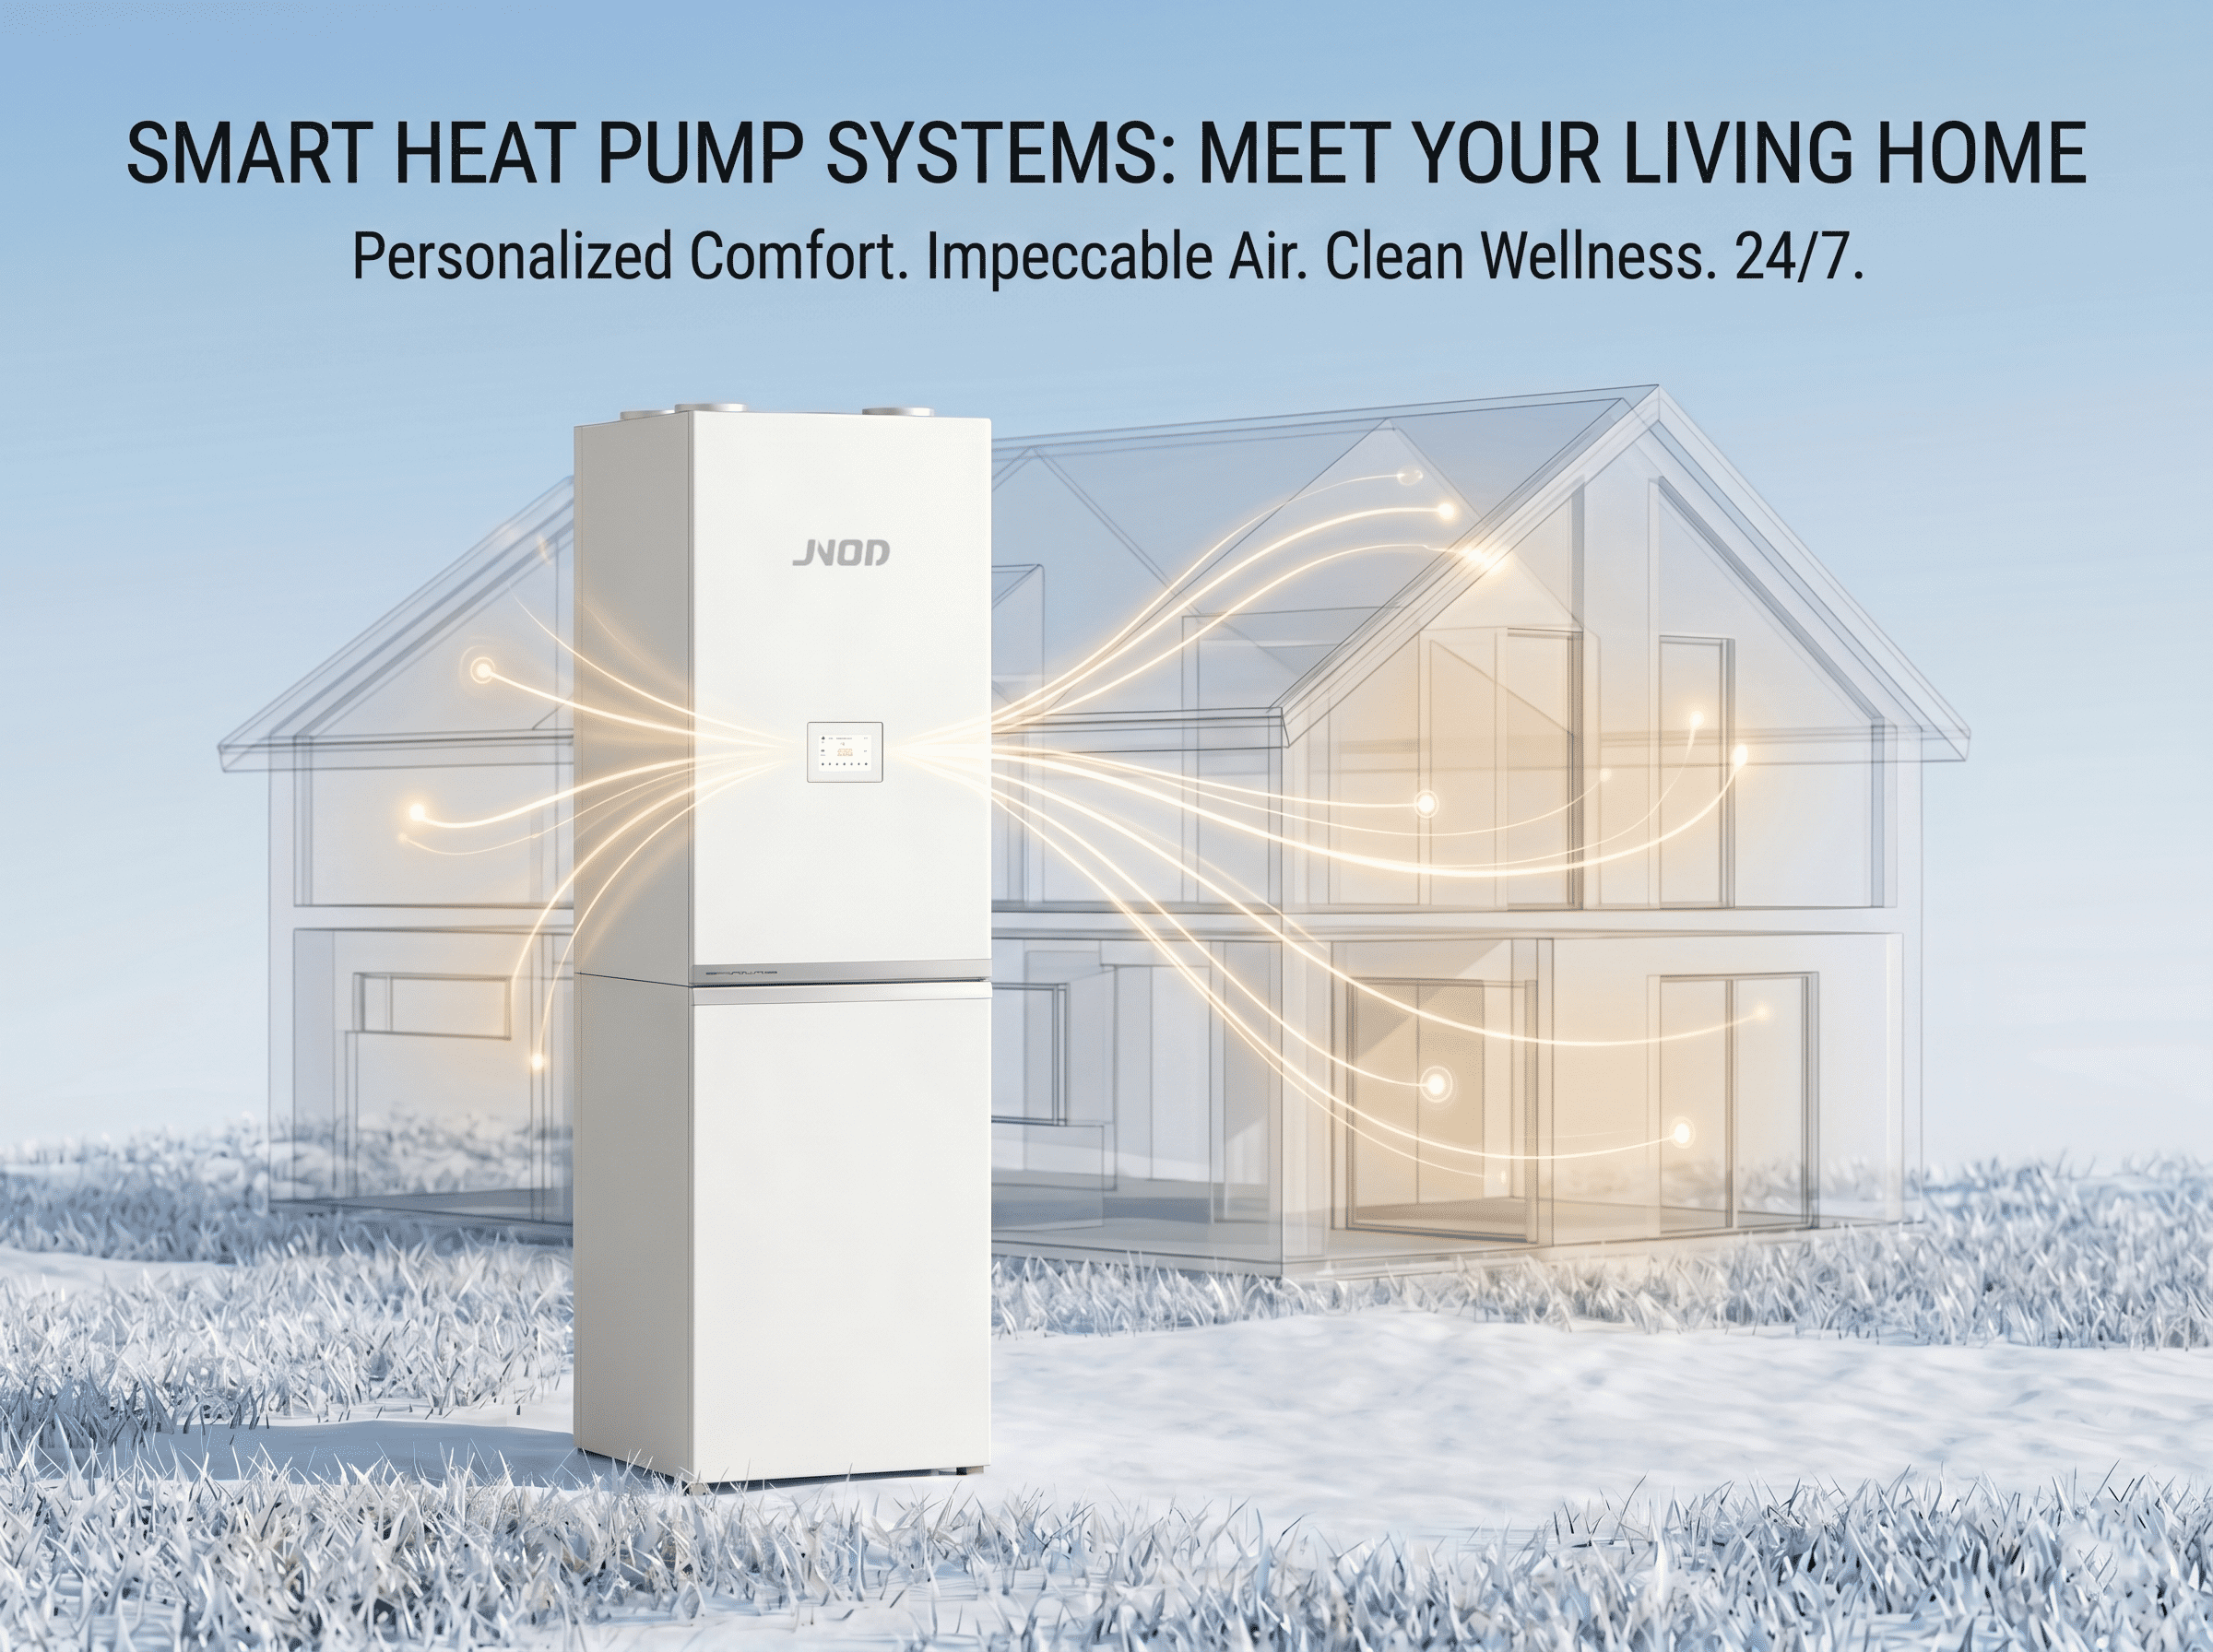
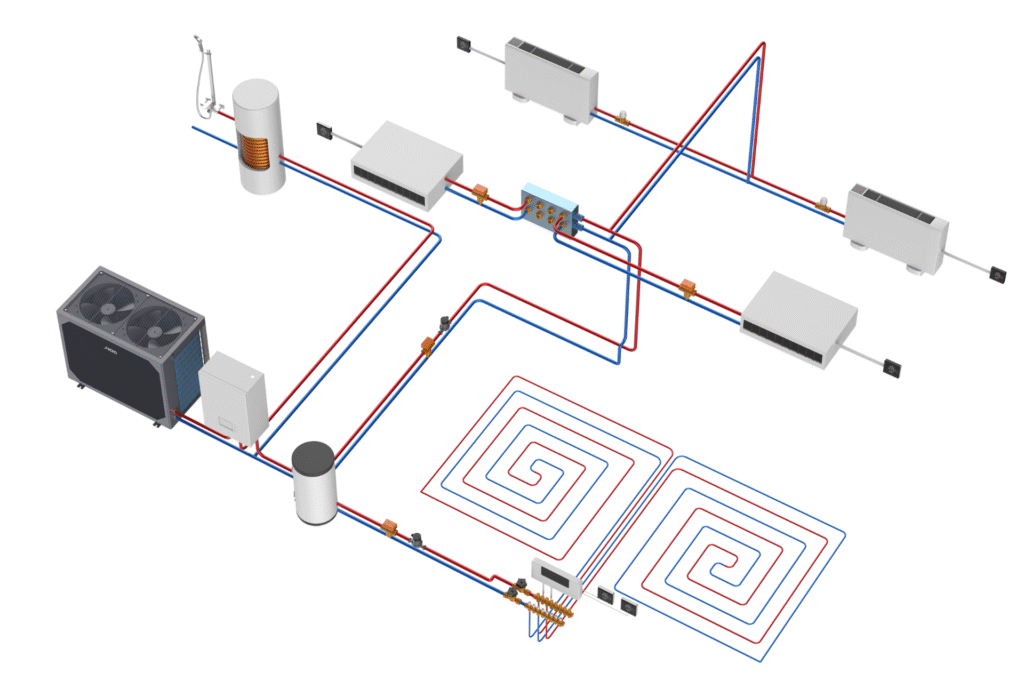
Generally, a heat pump consists of an outdoor unit and an indoor unit. The indoor unit may include one hydraulic module, one buffer tank, and one domestic water tank.
For the outdoor unit:
For the indoor unit:
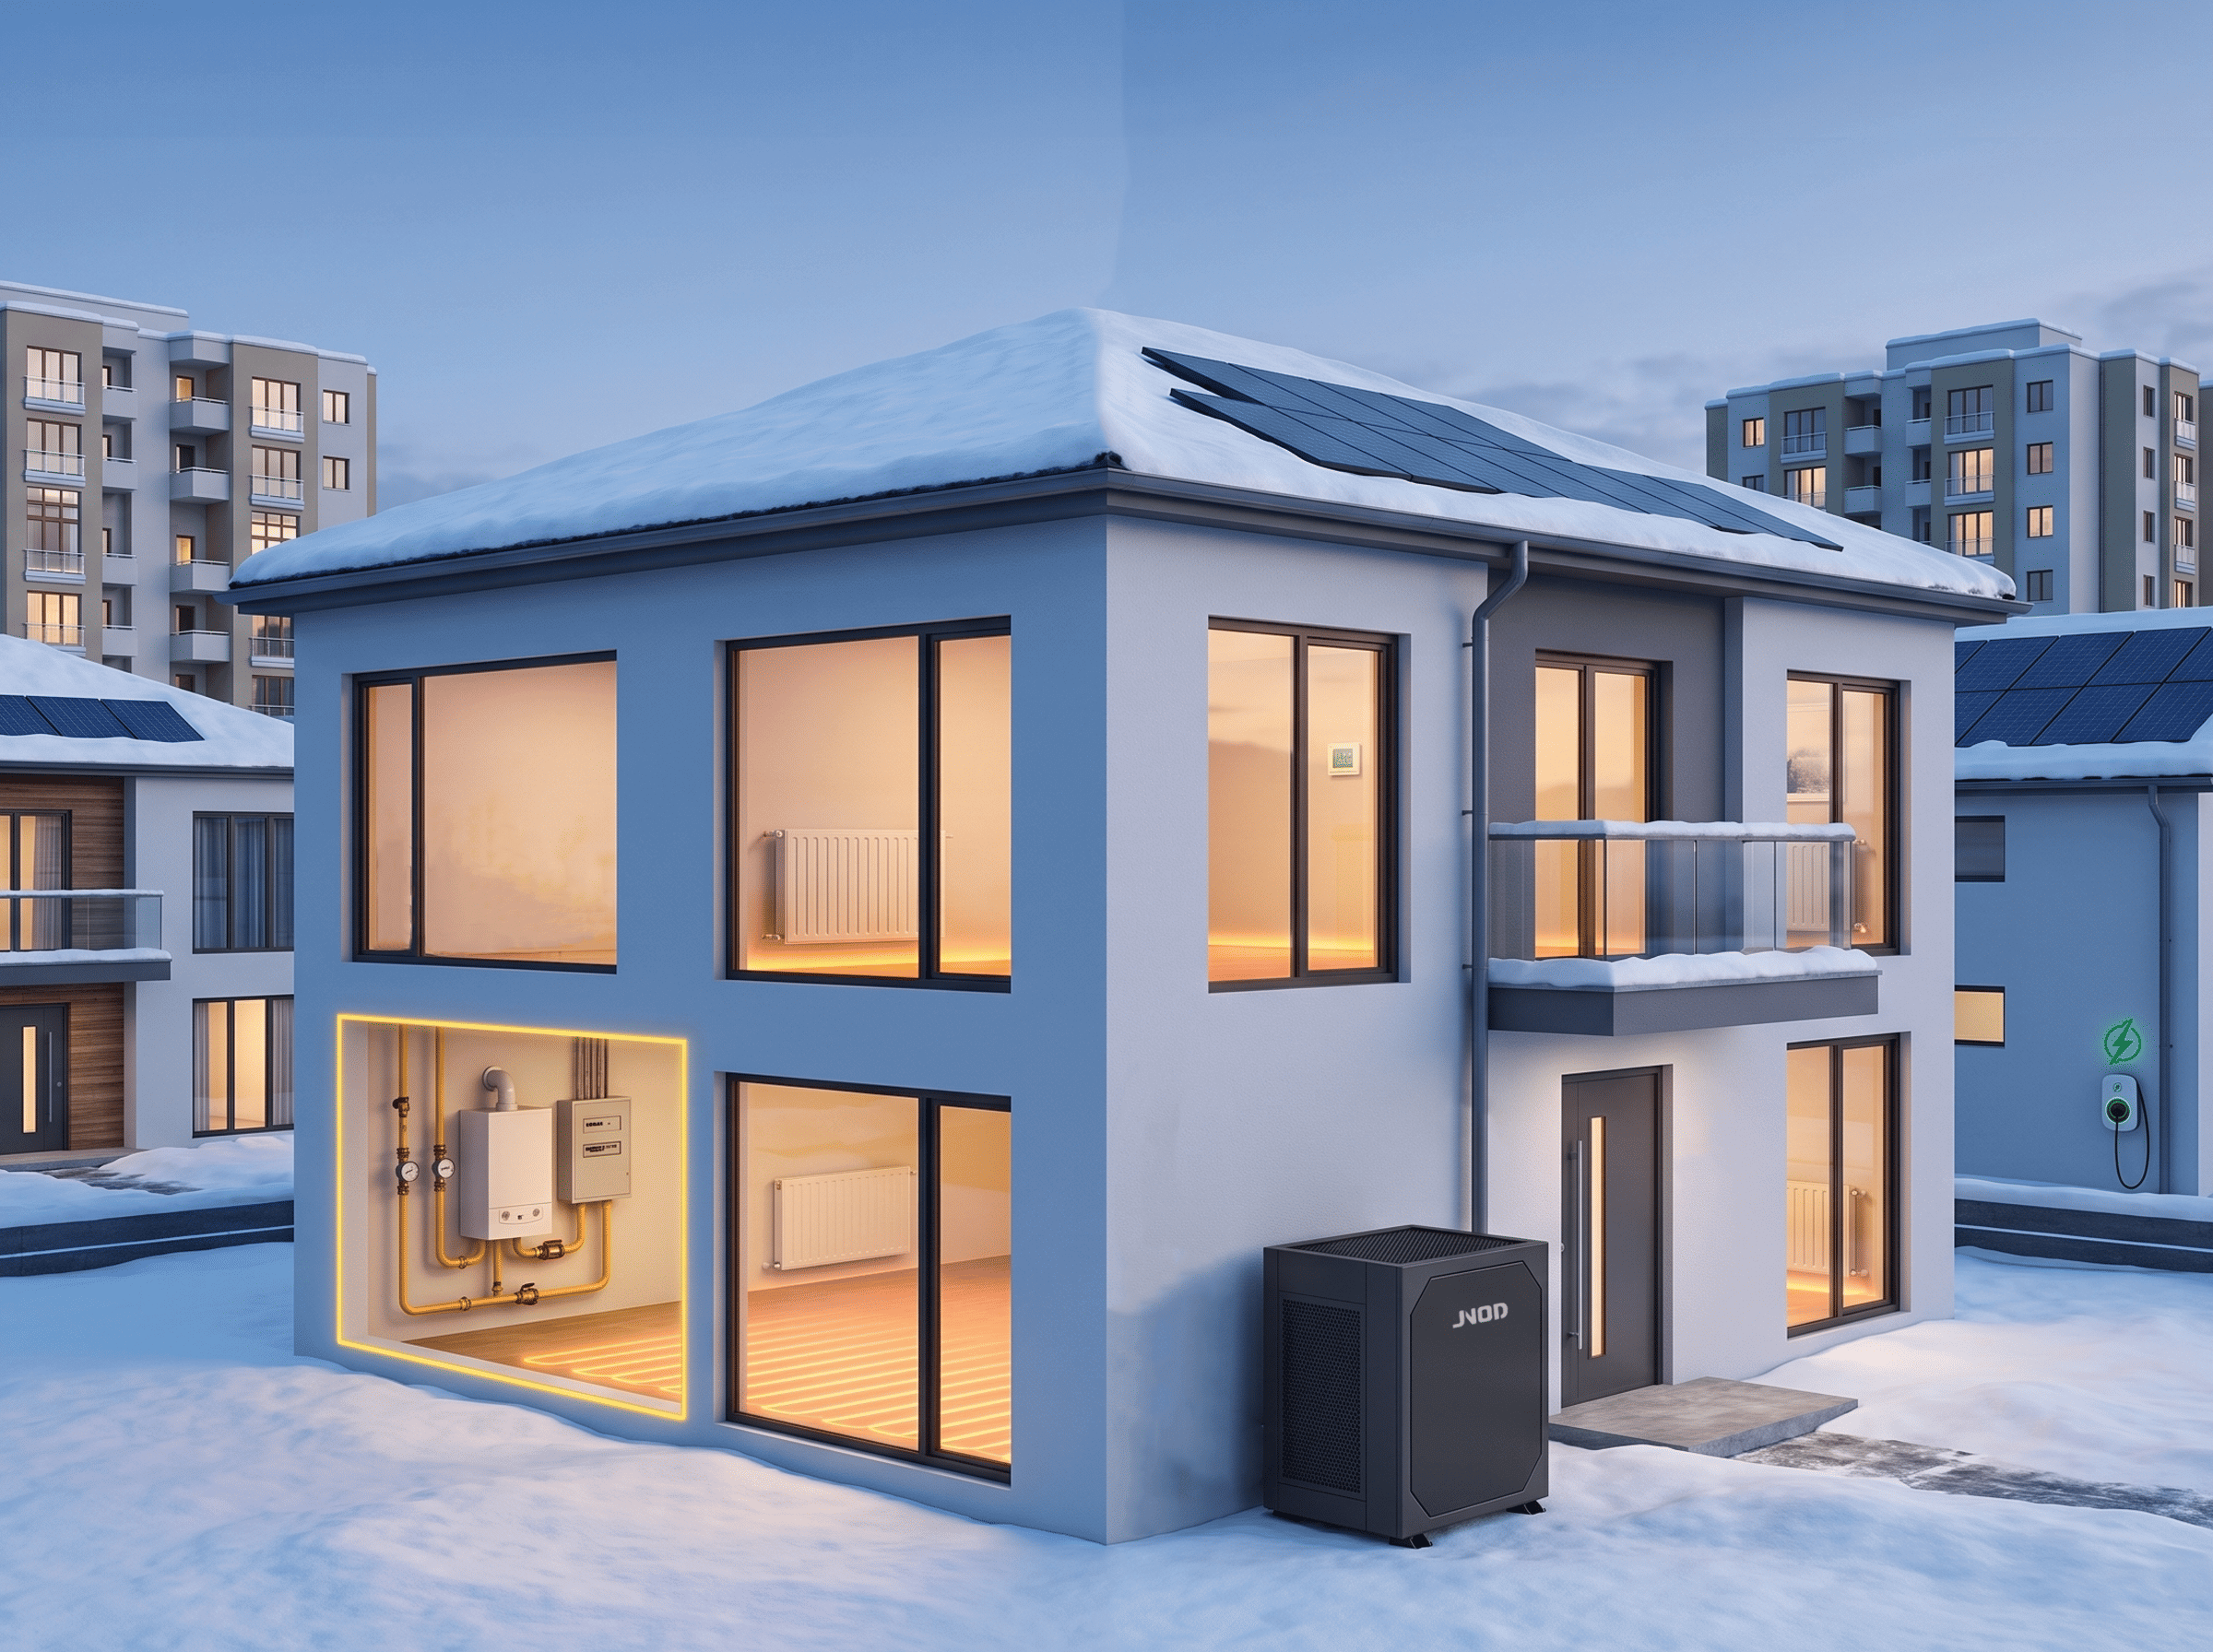
Before installing your heat pump, it’s wise to optimize your home for energy efficiency and heat retention:
These upgrades help your heat pump work more efficiently and reduce running costs.
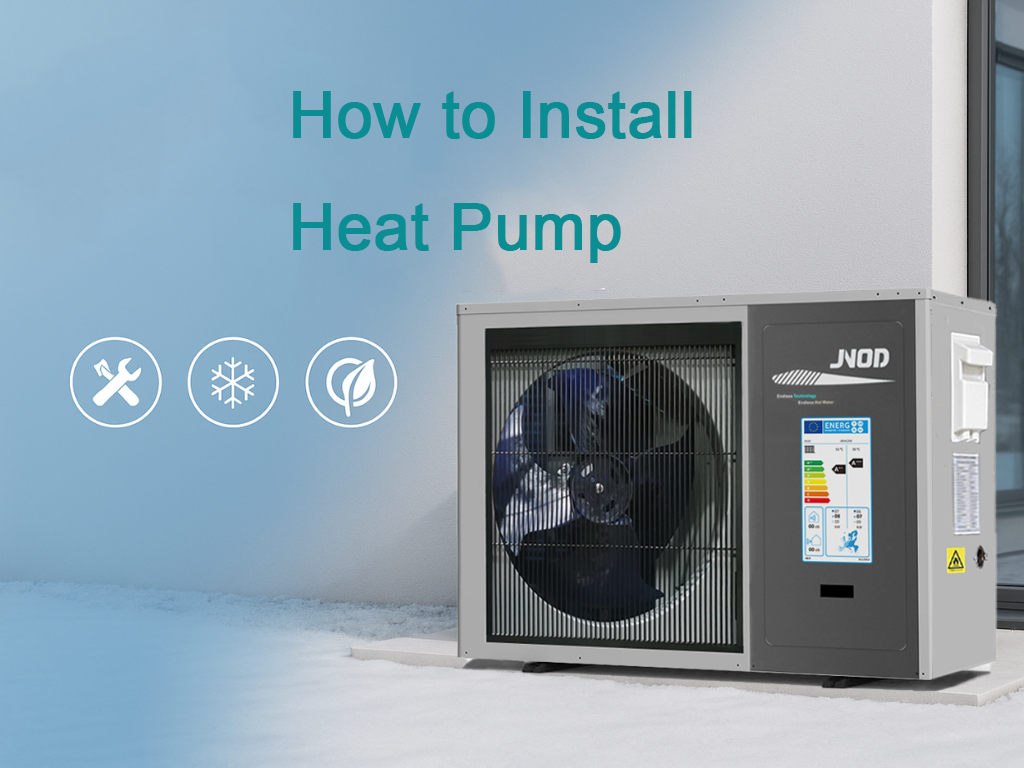
Now comes the actual installation. Your HVAC technician will visit your home to begin the process, which may take around five days, depending on the specific situation.
For geothermal heat pumps, this involves digging trenches or drilling to install underground loops. These loops absorb heat from the ground in winter and release heat underground in summer. Depending on your property, the technician will choose either a vertical or horizontal loop layout.
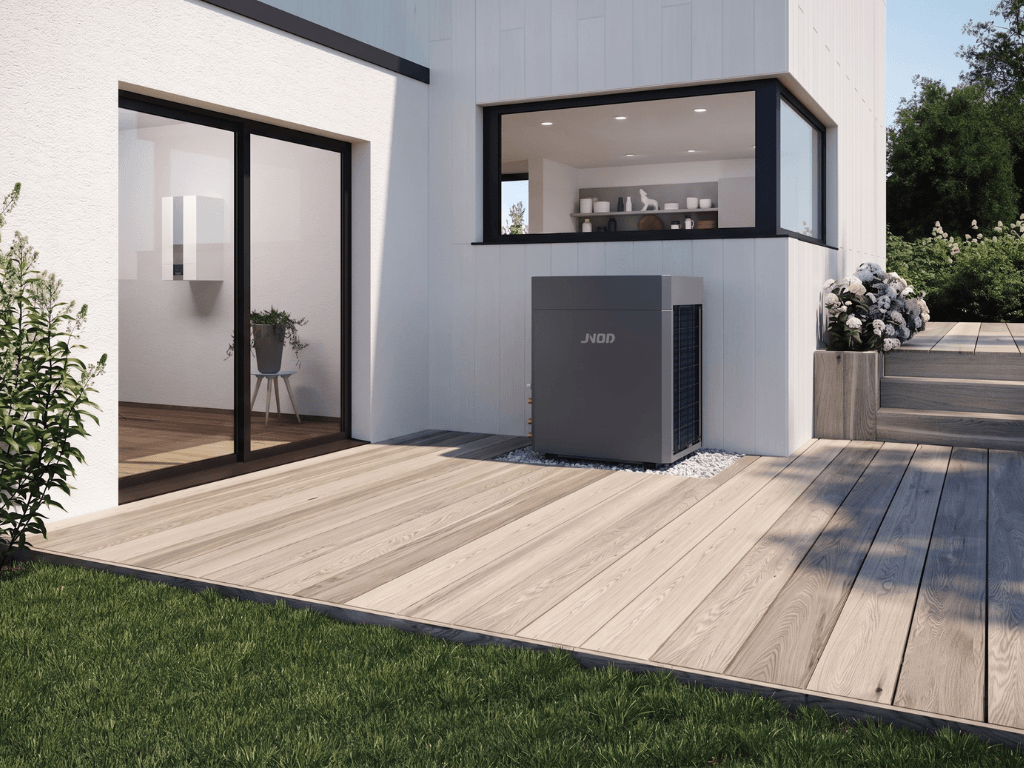
For air-source heat pumps, the technician will install indoor and outdoor units. The outdoor unit is placed on a level base using rubber feet or mounted on the wall (after inspection). A hot water cylinder, buffer tank will be installed indoors and connected to your home’s plumbing system.
Once the units are in place, the technician will:
This step ensures the heat pump is ready to operate smoothly and safely.
Everything is checked against manufacturer specifications to ensure it’s working properly.
Once installation and testing are complete, the technician will:
If you’re using a JNOD heat pump, the technician will also explain the Legionella sterilization cycle, which automatically heats water to 60°C during early morning hours. You can set this sterilization time from 30 minutes to 2 hours for safe and clean hot water.
Installing a heat pump is an effective way to achieve energy-efficient heating, cooling, and hot water in your home. This guide walks you through the entire installation process—from assessing your home’s needs and choosing the right system, to preparing your house for better efficiency, installing the unit, and final system checks. Whether opting for an air-source or geothermal model, working with a qualified HVAC technician ensures safe, compliant, and optimized performance. Proper setup, including smart controls and user training, guarantees long-term comfort and savings.